DIY Painted Mason Jar Bathroom Organizer: Easy & Customizable
When it comes to home organization, we all want easy, affordable, and stylish solutions. In the world of DIY projects, Mason jars have emerged as a versatile and charming option for organizing everything from bathroom essentials to kitchen supplies. This step-by-step guide will walk you through the process of creating your own DIY Painted Mason Jar Bathroom Organizer — a functional yet decorative piece that can elevate your bathroom decor.
Mason jars offer both practicality and aesthetic appeal, making them perfect for a range of organizational needs, such as holding cotton balls, toothbrushes, makeup brushes, and even hand soap.
The best part? You can customize the jars with a splash of color to suit your personal style and bathroom decor. In this guide, we’ll cover the essential materials needed, the step-by-step process of painting and distressing the jars, and creative ways to use them in your bathroom.
Why Mason Jars?
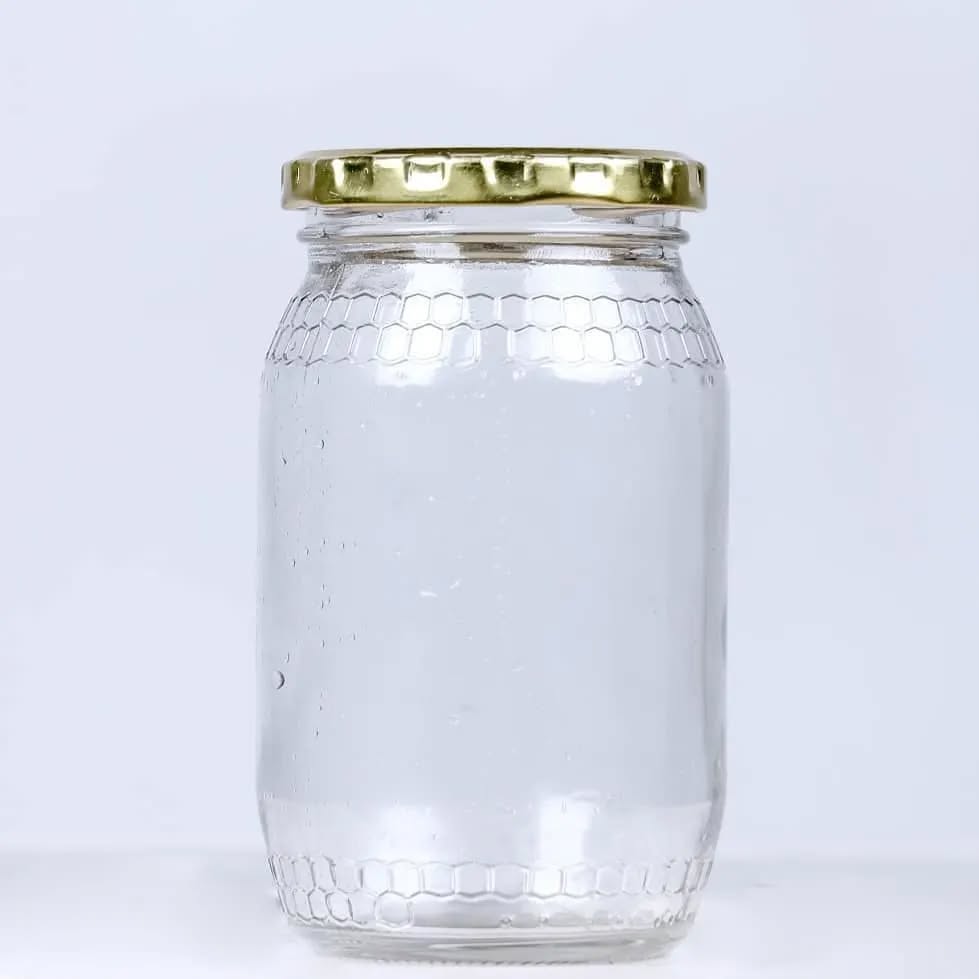
Photo Credit: @glassbottlesonline.ng
Before diving into the DIY process, let’s quickly explore why Mason jars are such a great choice for bathroom organizers:
Benefits of Using Mason Jars for Bathroom Organization:
- Versatility: They can be used to store a variety of items, from small toiletries like cotton swabs to larger items like toothbrushes and hair ties.
- Customizability: You can paint and distress the jars in any color or pattern to match your bathroom’s style.
- Durability: Mason jars are sturdy and long-lasting, ensuring your bathroom stays organized for years to come.
- Eco-Friendly: Repurposing glass jars is a sustainable choice that helps reduce waste.
In addition to their practicality, Mason jars can also bring a touch of charm and rustic elegance to your bathroom, whether you’re going for a farmhouse look or a more modern, minimalist aesthetic.
Related: Decluttering Your Small Bathroom: 7 Storage Tips and Tricks
Key Terms for Clarity:
- Distressing: This refers to the technique of intentionally aging or weathering the paint on your jars to create a vintage or worn look.
- Tack Coat: A light initial layer of spray paint applied to ensure even coverage.
- Mason Jar Rings: The metal parts that screw onto the Mason jar, used to secure the lid.
Materials Needed for the DIY Painted Mason Jar Organizer
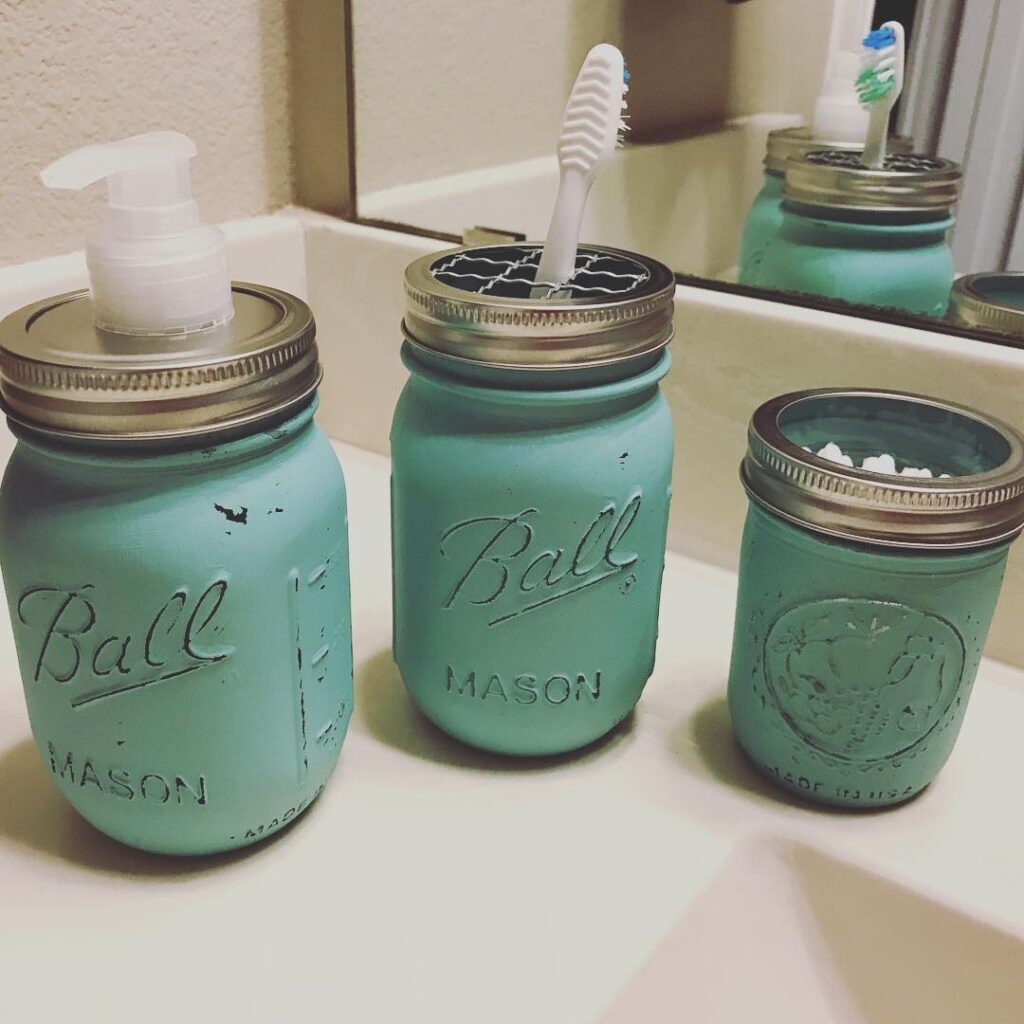
Photo Credit: @jessica.pinion
Before you get started on your project, it’s important to gather all the necessary materials. Here’s what you’ll need to create your DIY painted Mason jar organizer:
Essential Supplies:
- Mason Jars: Choose a mix of sizes depending on your storage needs. Pint jars are great for toothbrushes, while jelly jars are perfect for cotton swabs and cotton balls.
- Spray Paint: Opt for a durable, multi-surface spray paint that adheres well to glass. Matte, glossy, or metallic finishes can all work depending on your desired look.
- Sandpaper: Fine-grit sandpaper will help you distress the paint for that rustic, weathered look.
- Rubbing Alcohol: Used to clean the jars before painting, ensuring the paint adheres better.
- Newspaper or Drop Cloth: To protect surfaces from paint overspray and to create a clean, controlled area for painting.
- Mason Jar Rings (Optional): You can paint the rings for added customization, but this is entirely optional.
Optional Decorative Elements:
- Stencils: Use stencils to add intricate designs or lettering to your jars. This can make the jars more personalized, such as labeling them for specific bathroom items (e.g., “Cotton Swabs” or “Toothbrushes”).
- Pump Dispensers: If you want to turn your Mason jar into a soap or lotion dispenser, you’ll need a pump dispenser kit that fits the jar opening.
- Rope or Twine: Add a rustic touch by wrapping twine around the neck of the jar or attaching a small bow for decoration.
Step-by-Step Guide to Painting and Distressing Mason Jars
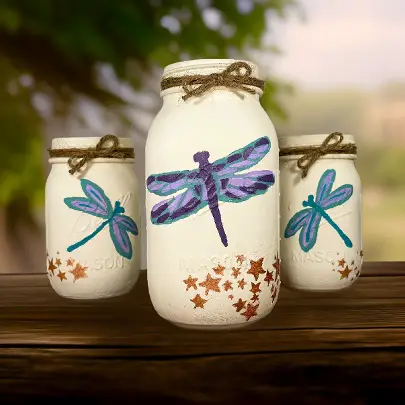
Photo Credit: @redwdhome
Now that you have all your supplies, let’s jump into the process! Whether you’re new to crafting or a seasoned DIYer, this step-by-step guide will make it easy to transform plain Mason jars into stylish bathroom organizers.
Step 1: Clean and Prepare the Jars
Before painting, it’s essential to ensure that the surface of your Mason jars is free of dirt, grease, or fingerprints. Any residue can affect how the paint adheres to the glass.
- Clean the Jars: Use rubbing alcohol to wipe down the outside of each jar. This step ensures that the jars are free from oils or dust that could cause the paint to peel or bubble.
- Dry the Jars: Let the jars dry completely after cleaning. You don’t want any moisture left before you begin painting.
Step 2: Set Up a Painting Area
Since you’ll be using spray paint, it’s important to work in a well-ventilated area. Set up a designated space outdoors, or in a garage with the doors open, to avoid inhaling fumes.
- Protect the Surface: Lay down newspaper or a drop cloth to cover the area where you’ll be painting. This will protect the surrounding surfaces from overspray.
- Elevate the Jars: To avoid touching the painted surfaces, consider placing the jars on a small platform or using a couple of wooden dowels to elevate them. This will help you paint the entire surface evenly.
Step 3: Apply the First Coat of Paint
The key to a smooth, even paint job is to apply several thin layers rather than one thick coat.
- Shake the Spray Paint: Ensure the paint is well-mixed by shaking the can vigorously for at least 1 minute.
- Tack Coat: Hold the spray paint can about 8 inches away from the jar and apply a light, even coat. This initial “tack coat” helps the following layers adhere better and prevents drips.
- Let the Tack Coat Dry: Allow the first coat to dry for about 10 minutes.
Step 4: Add Additional Coats
After the tack coat has dried, continue adding 2-3 more coats of paint, allowing 5 minutes of drying time between each coat.
- Apply Even Strokes: Keep your strokes light and consistent. Move the spray paint can back and forth across the jar, ensuring that you cover all the surfaces evenly.
- Let the Final Coat Dry: Once you’ve reached the desired coverage, allow the jars to dry for at least an hour to ensure they are completely dry before distressing.
Step 5: Distress the Paint (Optional)
If you love the vintage or rustic look, distressing is the perfect way to give your Mason jars a weathered, antiqued feel.
- Use Sandpaper: Fold a small square of fine-grit sandpaper into a strip to give you more control over where you sand. Rub the sandpaper gently over the raised areas of the jar, especially over any letters or designs on the jar.
- Focus on High-Contact Areas: Distress the parts of the jar that would naturally experience wear and tear, such as the neck, edges, or around the lid area.
- Clean Up: Once you’re satisfied with the distressed look, wipe the jars clean with a damp cloth to remove any dust created by sanding.
Step 6: Final Touches and Assembly
Now that your jars are painted and distressed (if desired), it’s time to add the finishing touches.
- Paint the Mason Jar Rings (Optional): If you’re using the metal rings, consider painting them to match the jars or create a contrasting effect. Let them dry completely before assembling.
- Add Decorative Elements: If you’re using stencils or decals, apply them at this point to add labels or intricate designs to your jars.
Creative Ways to Use Your DIY Painted Mason Jar Bathroom Organizer
Now that your painted Mason jars are complete, it’s time to put them to work! These jars are not only visually appealing, but also highly functional. Here are some creative ways you can use your DIY painted Mason jar organizer in your bathroom:
1. Toothbrush and Toothpaste Holder
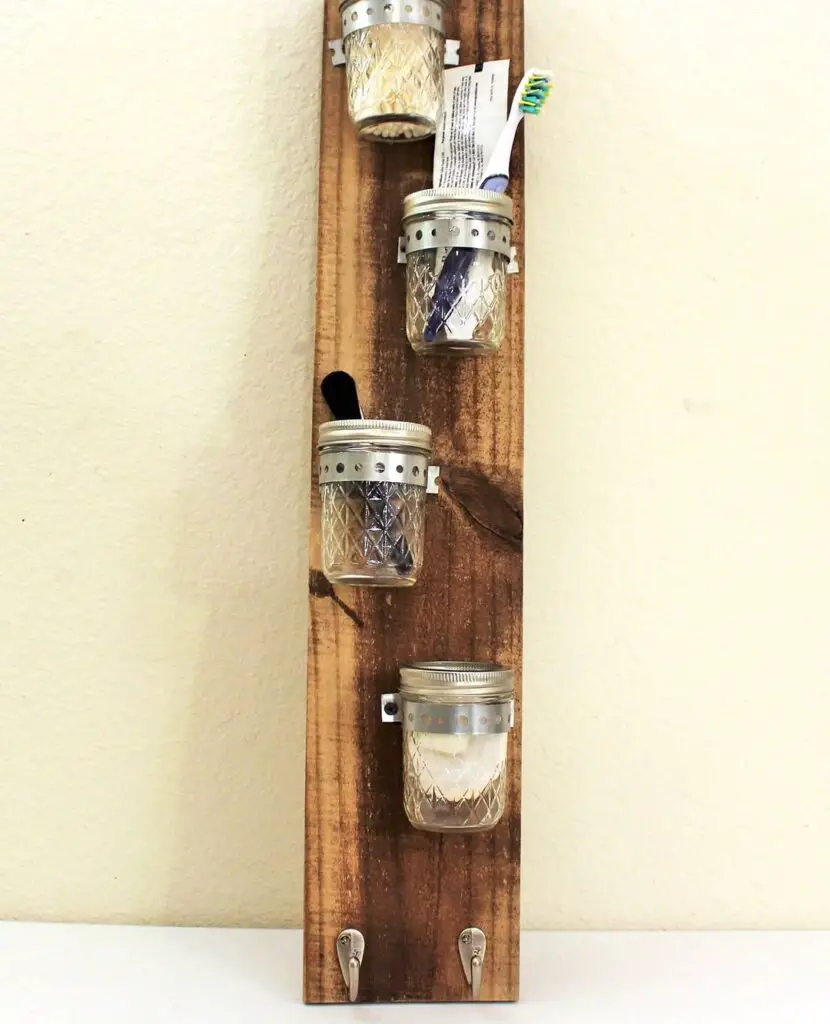
Photo Credit: @narleyandchikki
One of the most common uses for Mason jars in the bathroom is as a holder for toothbrushes and toothpaste. A pint-size Mason jar is perfect for this job, as it can comfortably hold several toothbrushes, ensuring they are both accessible and hygienic.
- Customization Tip: If you have more than one family member, you can paint different jars in varying colors and label them for each person. A little bit of personalization can help keep things organized and prevent any mix-ups!
2. Cotton Swab and Cotton Ball Dispensers
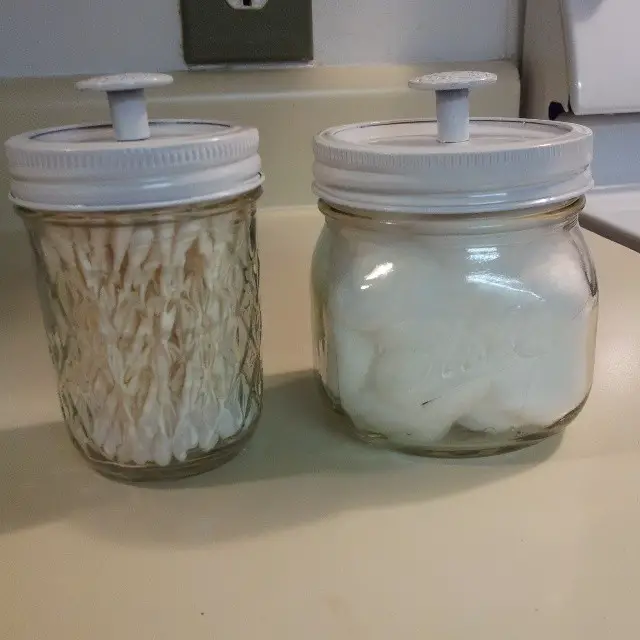
Photo Credit: @cynderella70560
Mason jars are ideal for storing cotton balls and swabs. They are easy to access and help keep your bathroom clutter-free. You can use jelly-sized Mason jars for cotton swabs and a pint jar for cotton balls.
- Customization Tip: Try adding a small chalkboard label to the jar to easily identify what’s inside. A chalkboard paint layer or even a peel-and-stick label can help with this.
3. Makeup Brush Holder
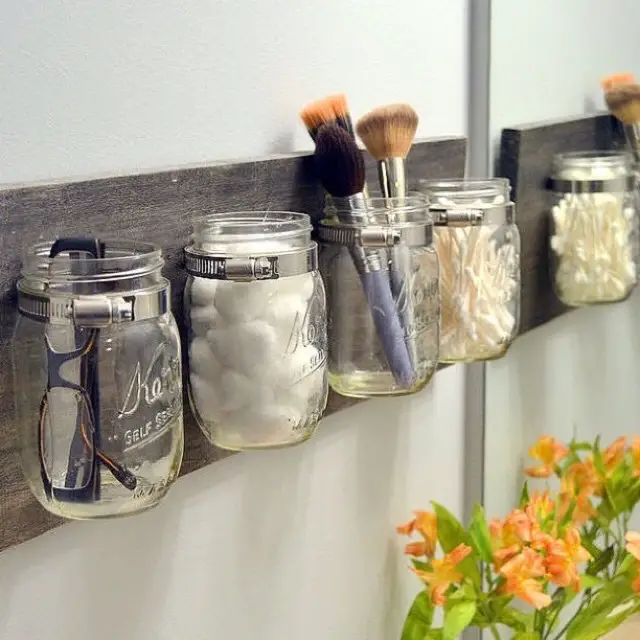
Photo Credit: @homeadvisor
Your painted Mason jars can also double as a chic organizer for your makeup brushes. Use a larger jar, such as a quart-sized Mason jar, to store brushes of all sizes. You can keep them organized by size or category (e.g., eye makeup brushes, face brushes).
- Customization Tip: For a sleek look, line the inside of the jar with decorative sand or small pebbles. This will help the brushes stand upright and add a bit of texture to your design.
4. Bathroom Storage for Hair Ties and Clips
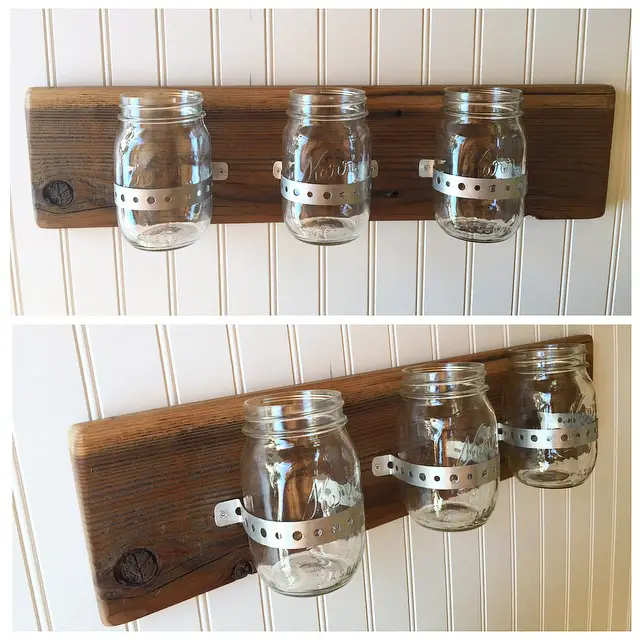
Photo Credit: @beyond_the_coop
If you’re constantly searching for hair ties, clips, or bobby pins, Mason jars are a great solution for keeping these small but necessary items organized. A pint-sized jar works well for storing hair ties, while a smaller jelly jar can hold clips and pins.
- Customization Tip: Use patterned or glittery spray paint to match your bathroom’s aesthetic, and consider adding decorative elements like ribbon or twine to the jar’s neck to enhance the visual appeal.
5. Hand Soap or Lotion Dispenser
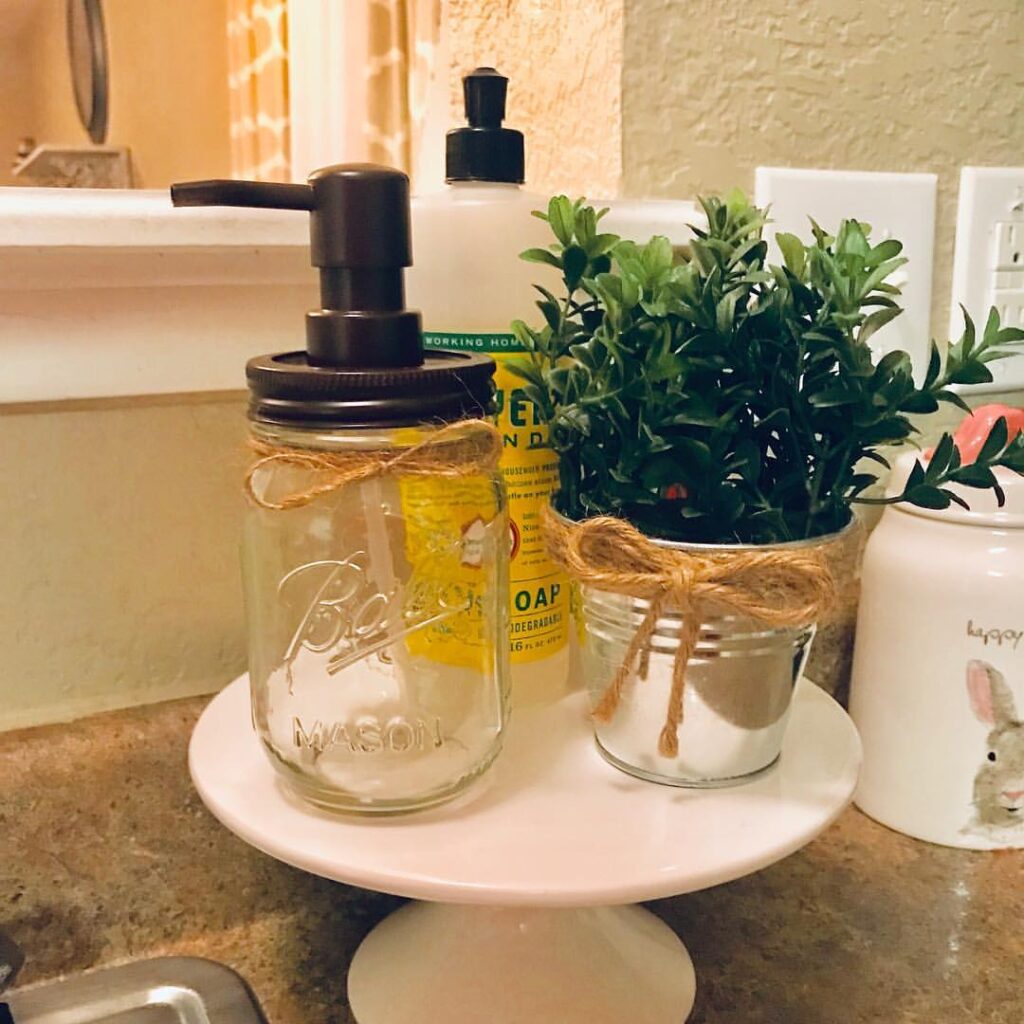
Photo Credit: @mylittle_texas__home
If you’re looking for a creative and rustic alternative to plastic soap dispensers, consider turning a Mason jar into a soap or lotion dispenser. You can buy pump dispenser kits that fit most Mason jars, transforming them into functional and charming pieces for your bathroom countertop.
- Customization Tip: Customize the color of your pump lid or the jar itself to match the rest of your bathroom. You can also use a chalkboard label to indicate the contents of the jar, like “Hand Soap” or “Body Lotion.”
Customization Tips for Every Bathroom Style
The beauty of Mason jars as bathroom organizers lies in how easily they can be customized to suit any decor style. Whether you’re going for a farmhouse, modern, or minimalist look, you can adjust your DIY painted Mason jars to match your vision.
Farmhouse Style
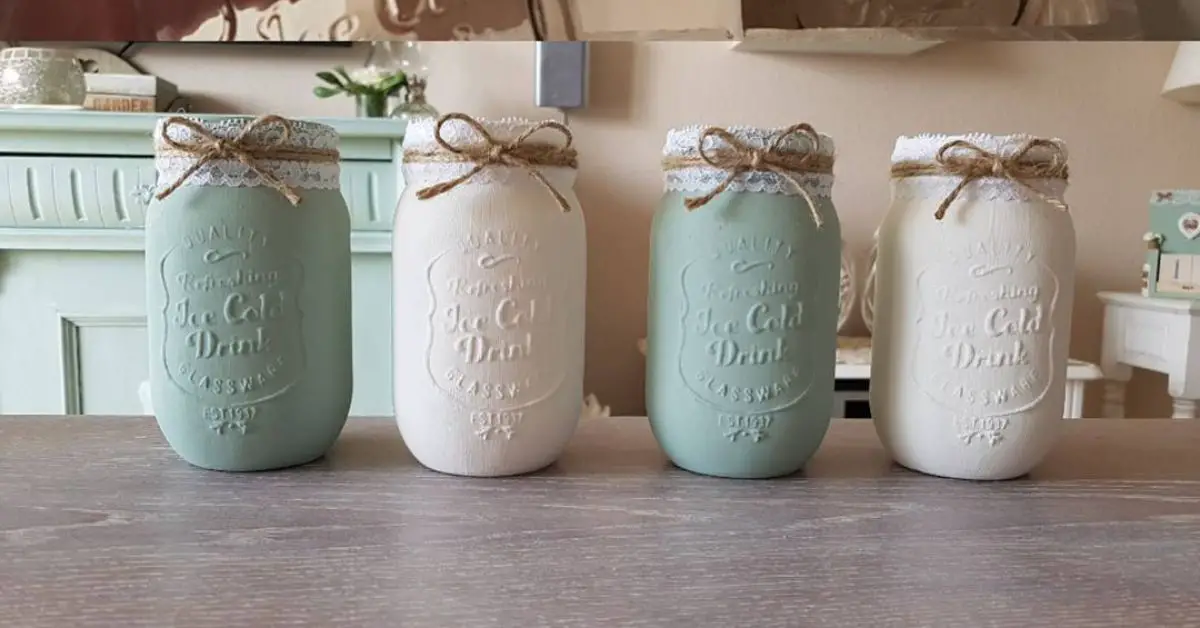
For a rustic farmhouse feel, distress your painted jars and use neutral colors like white, beige, or light grey. You can add a little burlap or twine around the neck of the jar to complete the look. If you’re feeling extra crafty, stencil farm-inspired designs, such as floral patterns or motivational quotes.
Modern Style
For a clean, modern look, opt for sleek, metallic colors like gold, silver, or black. Consider using a matte finish for a more sophisticated appearance. You can also add geometric patterns or modern symbols with stencils or decals for extra flair.
Boho Chic Style
If you’re aiming for a laid-back, bohemian vibe, go for vibrant colors such as teal, coral, or mustard yellow. Experiment with splatter paint for a fun, eclectic look. You can also add a touch of macramé or woven rope to the jars for a boho-inspired decoration.
Minimalist Style
Keep it simple and understated with neutral tones like black, white, or soft pastels. Avoid overly ornate decorations and focus on the clean lines and smooth finish of the jars. You can also consider using frosted glass spray paint for a soft, translucent effect.
Additional Functional Uses for Mason Jars
While Mason jars are great for organizing your bathroom, they’re also versatile enough to be used throughout your home. Here are a few additional ways to incorporate them into your home organization strategy:
1. Craft Supply Storage
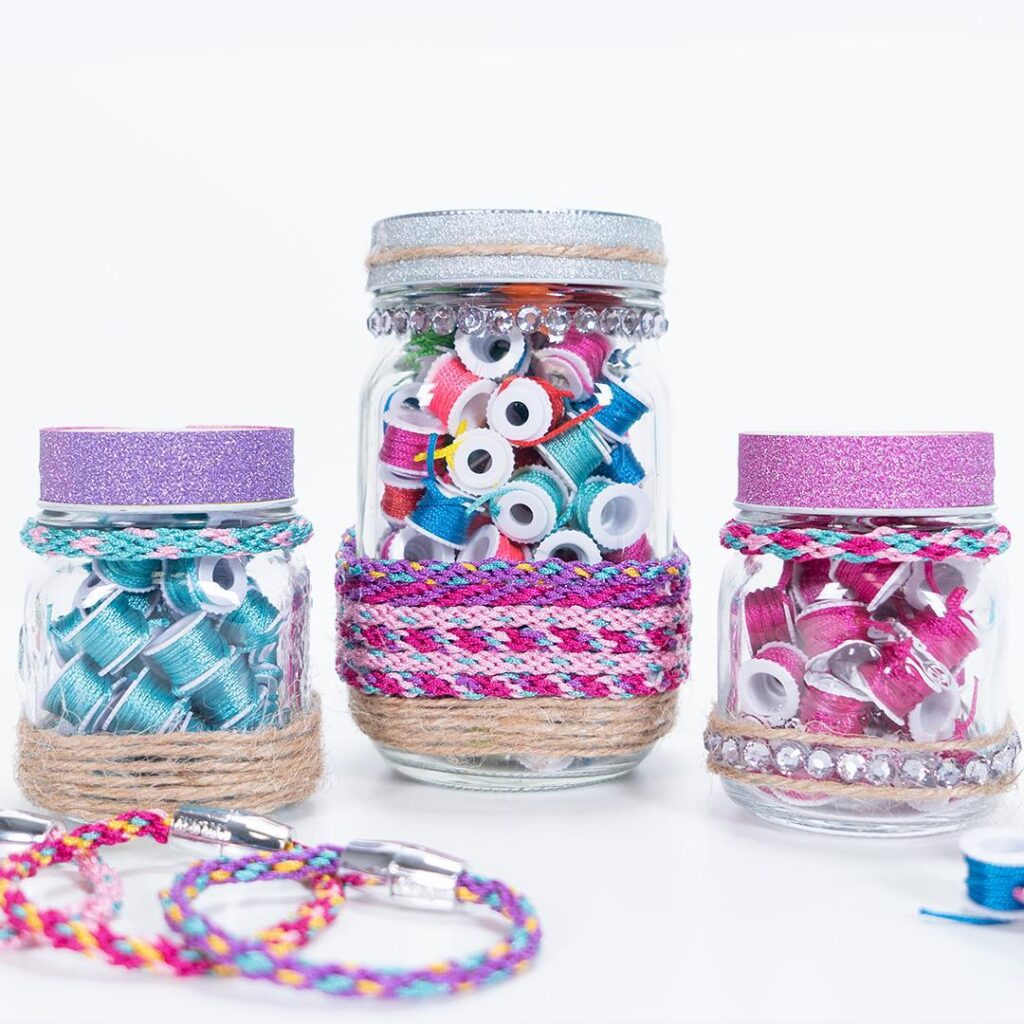
Photo Credit: @coolmaker
Mason jars can be used to store small craft supplies like buttons, beads, sewing needles, and ribbons. Use larger jars for fabric scraps or threads.
2. Kitchen Organization
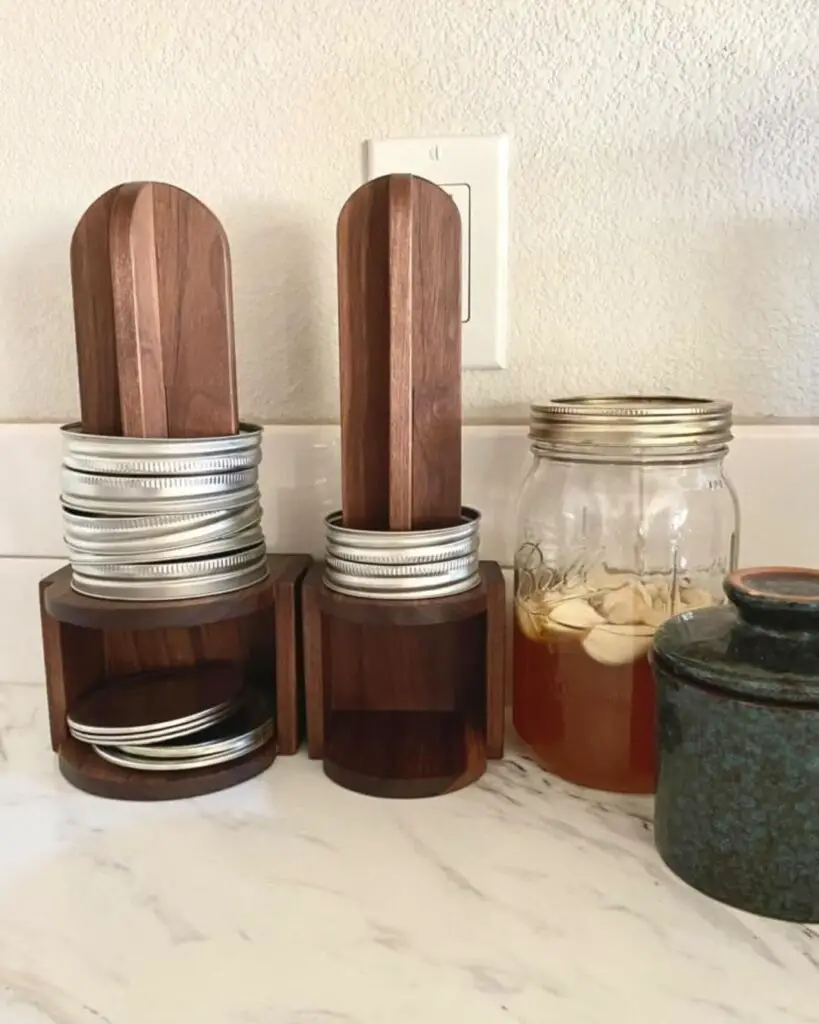
Photo Credit: @shaverwood
In the kitchen, use Mason jars to store dry goods like pasta, rice, or baking ingredients. They are a great way to keep your pantry neat and organized while also showcasing the contents in a visually appealing way.
3. Office Desk Organizers
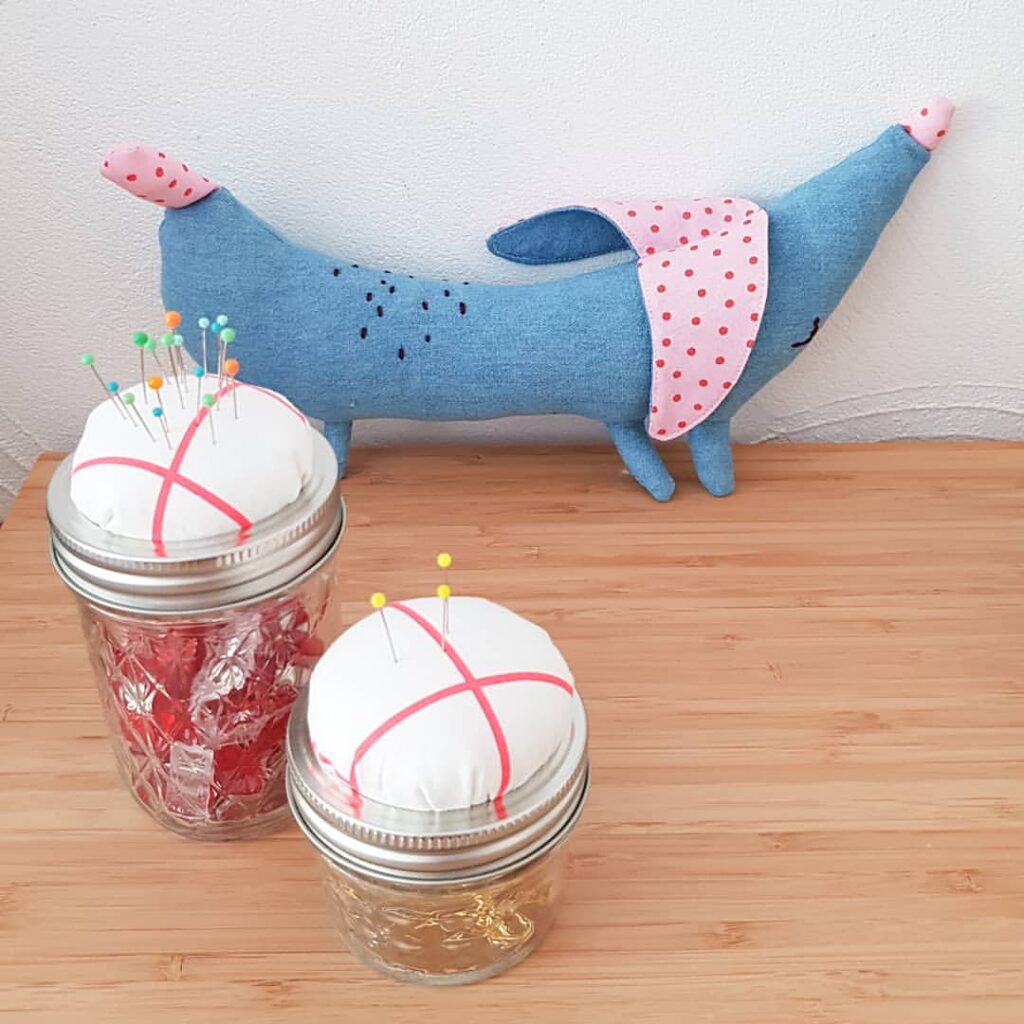
Photo Credit: @_moehnchen_
Mason jars are also perfect for organizing pens, pencils, paperclips, and other office supplies. Customize the jars with your company’s colors or branding for a professional look.
Why This Project Works for Everyone
- Beginner-Friendly: This project doesn’t require advanced crafting skills. With just a few materials and some patience, anyone can create beautiful Mason jar organizers.
- Customizable: Whether you prefer a shabby chic look, modern minimalism, or a bold color palette, you can customize your jars to fit any style.
- Sustainable: Repurposing Mason jars for storage is an eco-friendly choice. Instead of throwing away glass jars, you’re giving them new life as part of your home decor.
- Affordable: Compared to store-bought bathroom organizers, making your own Mason jar organizers is a cost-effective solution that won’t compromise on style or function.
Final Thoughts
Creating your own DIY Painted Mason Jar Bathroom Organizer is not only a fun and creative project, but it also offers a practical solution to your bathroom storage needs. Whether you’re organizing cotton swabs, toothbrushes, or makeup brushes, these jars will help keep everything neat, accessible, and stylish. The customization options are endless, allowing you to match the jars to your bathroom’s existing decor or even change them with the seasons.
By following the simple steps of painting, distressing, and personalizing your jars, you can transform these humble containers into chic, functional storage pieces. And the best part? You don’t need to break the bank to create a stylish and organized bathroom!

